Soap Crowd offers unique and compelling insights into the soap making process. From start to finish, this blog takes you on an exciting journey into the world of soaps. Whether you’re a first-time buyer or an experienced crafter, there’s something for everyone at Soap Crowd!
Featured Categories
Latest Posts
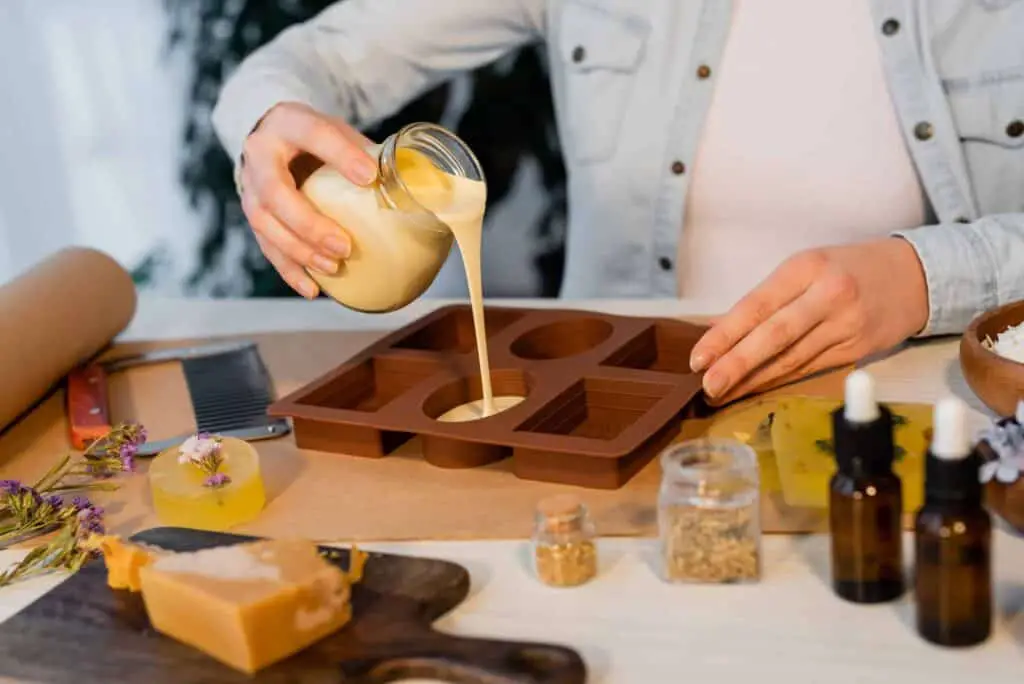
Soap Making Recipes: Soaps That Are Easy & Fun To Make
Making soap is a fun craft for those who love experimenting with soap making recipes. If you’re the one, then this blog is for you!
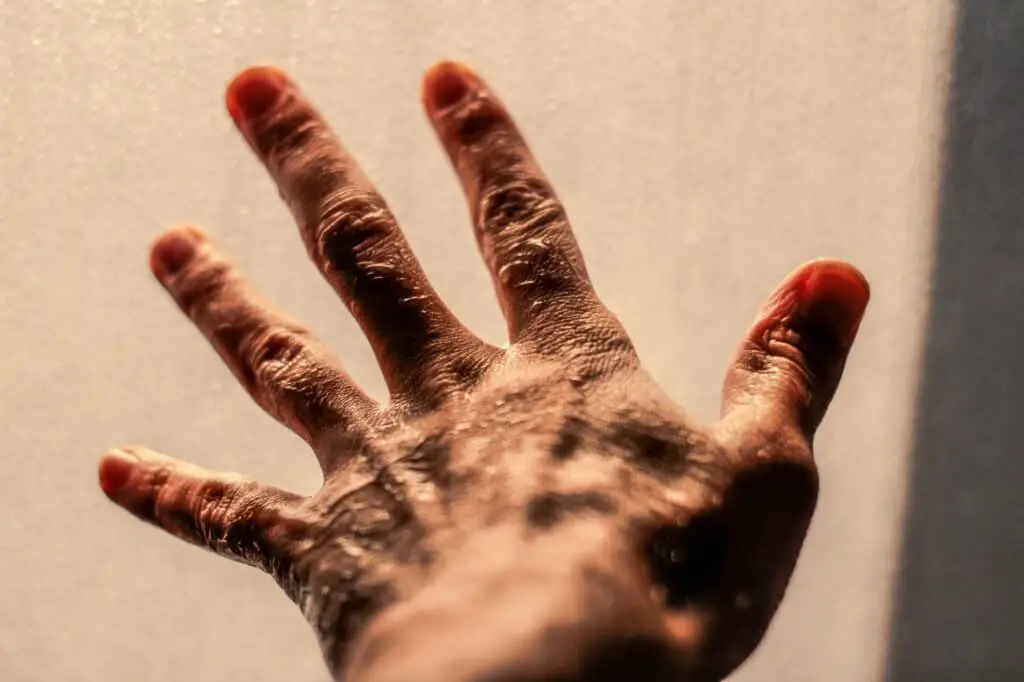
How To Choose The Right Soaps For Dry Skin
Dry skin can be troublesome, especially in cold weather. Choosing the right soaps for dry skin can save you from further damage. Read the blog to find out!
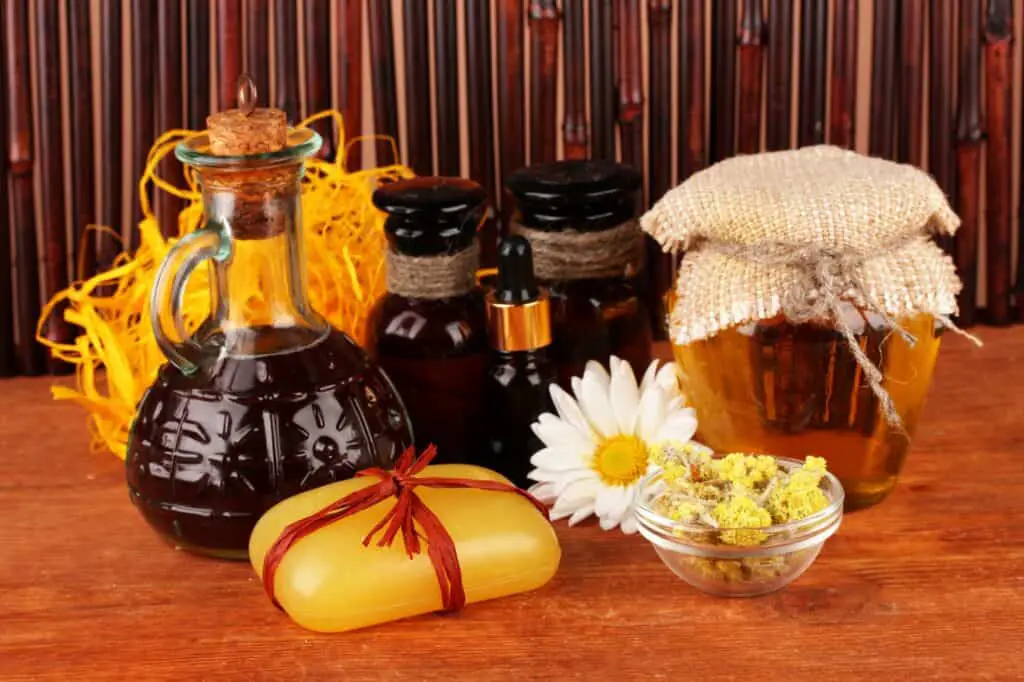
How To Choose The Perfect Oils For Your Soap Recipe
You can choose the oils for soap. And you can also decide on various other parameters such as fragrance, color, and the number of oils among other things.
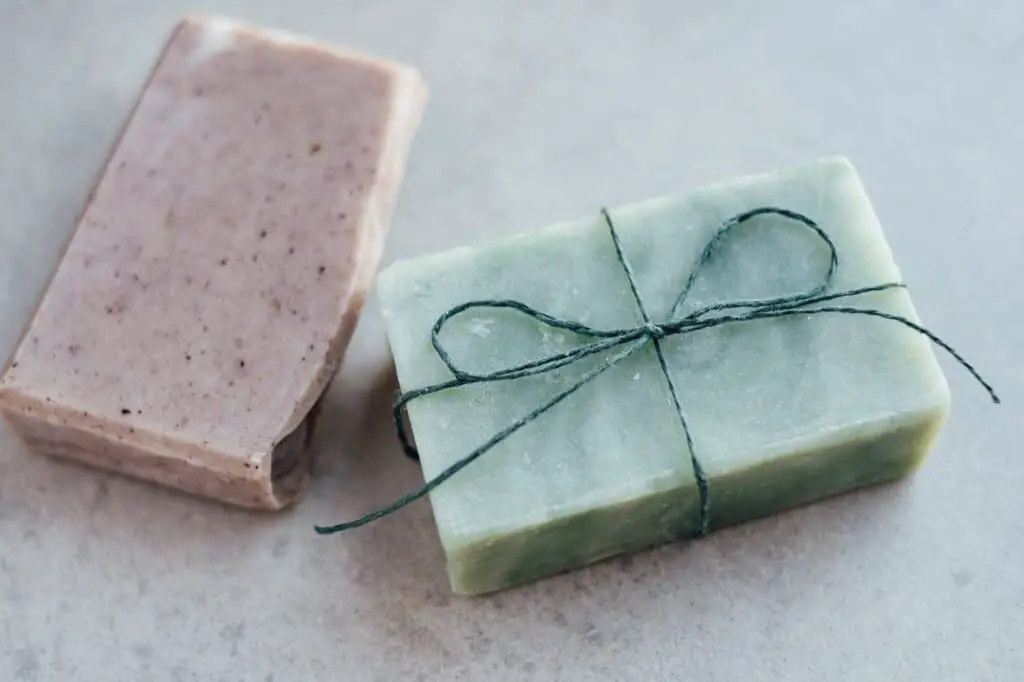
Why Unscented Soaps Might be Better For You Than Fragranced Ones
This article will discuss why unscented soaps are better than fragranced soaps. And how you can try different recipes to make fragrance-free soaps at home.

How To Make Vanilla Essential Oils For Soap
In this article, you will learn how to make vanilla essential oils for soap. And you will also know about benefits of using it for your facial skin or body.
Soap Carving For Beginners – How To Create Custom Soaps
Carving soap is a fun, creative activity that people of all ages enjoy. With a few simple carving tools and patience, anyone can create beautiful soaps.