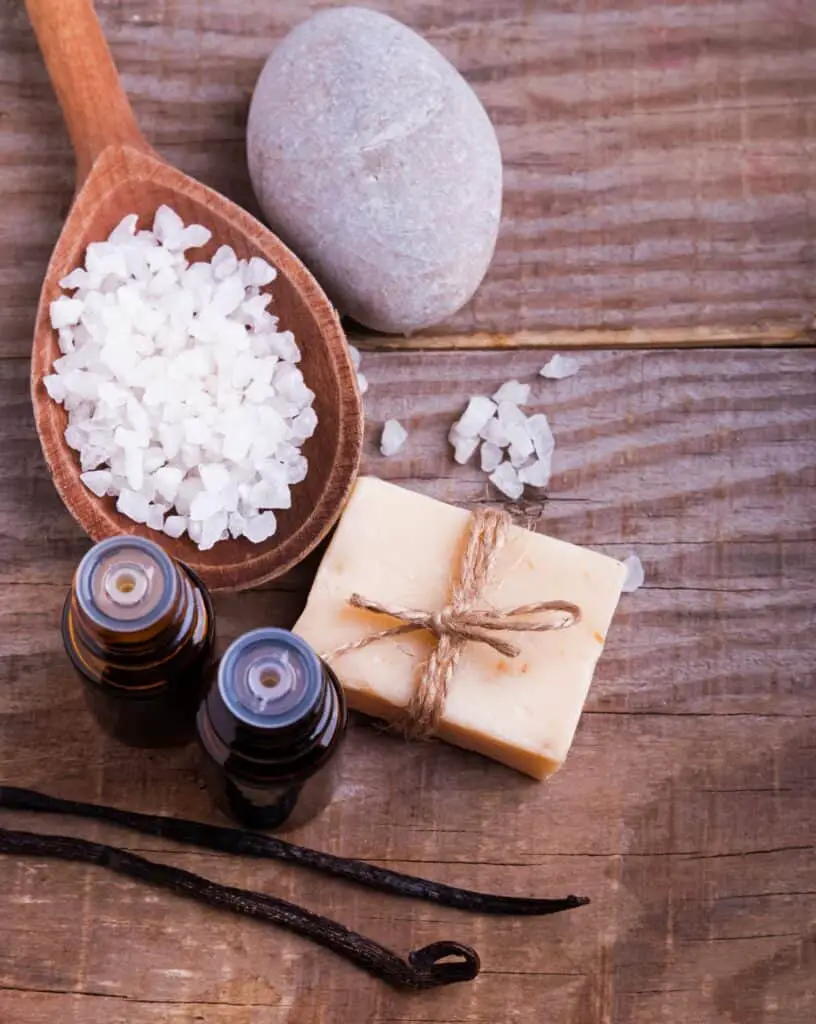
As remote working hit, my interest in DIYs and homemade products peaked, which resulted in making soaps for my friends and family. I have been trying all methods to make soaps for a year now. I’ve found some interesting contrasts between the hot process soap and cold process soap which I would love to share with you soap-making geeks. This article is a complete guide to hot process soap making, so have your notepad ready to note down the best tips and tricks for hot process soap making.
What is hot process soap, and what are the benefits?
The hot process soap method is one of the most used soap making processes. As the name suggests, hot process soap uses a heat source to speed up the saponification process (Making soap in which oils/fat and lye and water react to form glycerin and soap!).
The soap is primarily cooked and reaches a trace as constant heat is provided in a crockpot or pan. If you have been making DIY soaps and have tried other soap-making methods, the advantages and ease of hot process soap-making will intrigue you.
In the cold process of soap making, alkali/lye plus fats/oils are mixed to form soap over approximately 24-36 hours. Since no heat is provided to the mixture, the saponification in the cold process of soap making occurs with the heat produced from a chemical reaction. However, the majority of soap saponifies after 48 hours, and it can take up to several days for the process to complete.
Cold process vs. hot process soap making
- The stark difference between hot and cold process soaps is providing heat in the former, which catalyzes the reaction of soap making. The hot process soap is already formed when you pour the hot molten mass into the molds, whereas cold processed soaps are formed after being poured into the molds.
Cure time
Hot process soap requires far less cure time than cold processed soaps. As discussed above, the hot process soaps are already cooked before pouring into the molds. This means the hot process soaps only need to be hardened and set according to their water content inside the molds. Adjusting the water content will benefit you while whipping up a large batch of soap.
Early Processing
The soap is ready for packaging, dispatch, and use earlier if you have an audience or customers to serve using your soap-making skills. You will love not to wait for several weeks to see your final results of hot processed soap. Hot process soap is typically cooked for 40-60 minutes and is ready to mold.
No Soda ash Formation
No soda ash formation occurs like in the cold process soaps. The soda ash forms when the unreacted lye from the mixture chemically combines with CO2 in the air. This reaction primarily occurs in the cold process soaps because of incomplete saponification.
The scent lasts longer in the hot process vs. the cold process.
Hot process soap holds the scent ( fragrance from fragrance oils/essential oils) longer than the cold process soap. Scents tend to stay longer in hot process soap because they are added after saponification. Experimenting with scents becomes fun and rewarding when using the hot process method. You can use fragile fragrances in hot process soap since they will not be affected by coming in contact with the lye solution.
Monitoring temperatures
You don’t have to constantly monitor the temperature of lye solution and oils until the saponification is like most cold process soap makers have to. Hot process soap makers only check temperatures when adding desirable additives and fragrance oils.
Choosing your desired superfat oil/fat
One of the great bonuses of hot process soap making is controlling which oil becomes the superfat in your recipe. In the cold process, soap-making saponification isn’t finished for up to 48 h, making superfat oil unpredictable. It could be a mixture of all oils or just one oil; you never know.
Easy to clean
Easy to clean up! The hot process of soap making is not such a fuss to clean up as it’s already soap, all you’ve got to do is wash the bowl, and your crockpot is clean.
Tools and supplies you’ll need for hot process soap
Hot process soap making requires quite a handful of supplies. Here’s a list you can check off before preparing to make your hot process batch.
- Crockpot/Slow cooker: Get yourself a crockpot or slow cooker that will be designated for soap making only. It is better not to use a pricey crockpot from your kitchen; instead, get a cheap or an old one that can be designated for your hp soap.
- Digital scale: A handy digital scale to weigh your ingredients is necessary for your soap-making process. The incorrect measurements often lead to disasters in the soap-making process.
- Stick blender/immersion blender: A good stick blender to stir and pulse through the lye and fat mixture is essential for helping your soap reach its trace.
- Digital Thermometer: A thermometer to measure the temperatures of the lye and oils initially and then at the end of the saponification to avoid any unpleasant outcomes.
- Measuring cups/cylinders: Ideally, glass cylinders are perfect for measuring the lye and water. Avoid metal containers as they react with the alkali and the lye solution. Pyrex containers can also work fine as they won't react with the lye solution either.
- Safety gear: A pair of goggles, gloves, and an optional face mask are significant when handling hot process soap cooking. The exothermic reaction of NaOH and water plus the soap cooking will release hot gases, which should be kept away from.
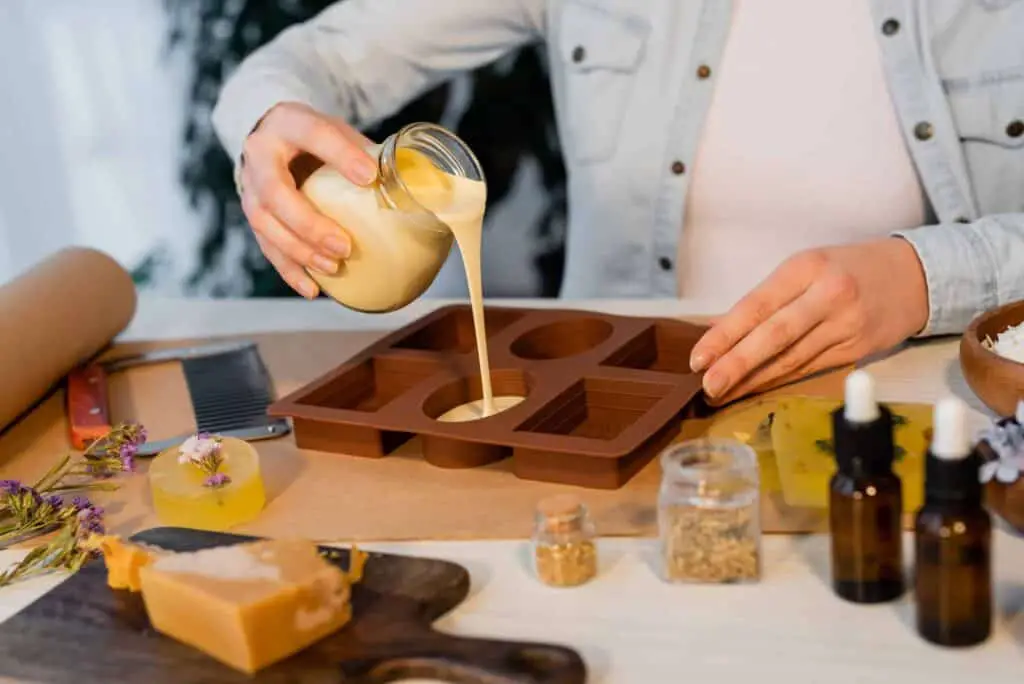
- Soap mold: A silicone soap mold to pour in the soap after cooking. This helps with soap cooling and hardening. The soap mold should be made of good material like silicone, which helps extract the soap easily. To avoid air bubbles, tap the mold while pouring in soap.
Simple moisturizing hot process soap recipe
If you’re crafting a chemical-free homemade soap using the hot process, here’s a simple homemade soap bar recipe ( 800g/28 oz batch with a 5% superfat) from Lovely Greens that is moisturizing for your skin and fun to create. The best part about this recipe is that all ingredients are natural and make organic soap bars.
Ingredients:
- 112 g(3.94 oz) Sodium hydroxide
- 289 g(10.19 oz) Distilled water
- 480 g (16.93 oz) Extra virgin olive oil
- 200 g (7.05 oz) Coconut oil
- 80 g (2.82 oz) Mango butter
- 40g (1.41 oz) Castor oil
- 1 TBSP 15 Yogurt
- 4 tsp (16g) Grapefruit essential oil
Steps to follow:
Make your lye solution:
The first step in making soap from scratch is making a lye solution. Wear protective gear( gloves, mask, and goggles).
Making lye is an exothermic reaction, so prepare it in a well-ventilated space or by a window in your kitchen/house. Make sure to dissolve NaOH crystals/granules with distilled water properly while using a stirrer.
Keep away from inhaling the steam produced and gently mix the solution. The lye is the main ingredient to form a solution.
Getting your fat bases ready:
Melt the mango butter, the base fat, in a stainless steel pan over a stove. Once solid oils are melted, bring them back to your soap-making station.
Add the extra virgin olive oil to a jug/measuring cylinder. Add the melted oils and fat to your preheated slow cooker /crockpot. Mix the castor and olive oils and pour that into the crockpot. Using a spatula will come quite handy when adding the oils to the pot.
Bring the soap to trace:
Check the temperatures of base oils and your lye solution using a digital thermometer. Ideally, the temperatures of both lye solution and oils should be within 10 degrees of one. Your lye solution would still be hot from the exothermic reaction.
Let it cool down in a pot containing tap water. Meanwhile, by residual heating, you can melt your superfat, which is mango butter (or fat of your choice).
You will require a sieve to add your lye solution to the base fat in the crockpot. Then, using a stick blender, initially stir the lye and fat together. Make sure to put your stick blender inside the mixture at an angle to avoid excess air bubbles forming. You will notice a slight change in the mixture's color; it will change from golden brown to an opaque batter as you mix the liquids.
Gently start the blender inside the liquid mixtures and pulse them each for a few seconds. The liquids will start emulsifying as you stir and pulse.
The soap batter will come to a light to medium trace, continuously stirring and pulsing. To know when this occurs, lift the stick blender out of the batter and notice the slightly thick batter shaping up with the stick blender’s mouth.
After the medium trace, add the superfat ( mango butter or fat of your choice after the medium trace. Thoroughly mix the superfat within the soap batter and scrape off the sides to remove any excess batter.
Cook your hot process soap:
Pop the lid in and allow the soap batter to cook for 30 mins to 45 mins on slow heat. Allowing the soap to cook will accelerate the saponification process.
When the battery reaches a vaseline-type glossy mixture, the saponification is complete. Using a spatula, gently mix the soap batter. The soap’s temperature is very hot, so adding the essential oils is not suitable.
Time for additives:
Once the soap is below the temperature of 82 ℃, your soap is at the right temperature for additional ingredients. Add the essential oil and yogurt, do not mix vigorously; stir gently.
Keep the lid on the vessel and allow the water to remain in the batter. Keeping the lid on helps the water content to remain inside the soap batter and not evaporate completely.
Pour the hot process soap into a mold:
Take a silicone loaf mold and scoop out the soap batter using any old cooking spoon. Ensure to eliminate any air bubbles by periodically tapping the mold to your workspace’s surface.
Leave the soap to harden and cool in the mold for at least 12 hours.
Unmolding to cut soap bars
Cut the soap using a sharp kitchen knife after taking it out from the mold into equal soap bars.
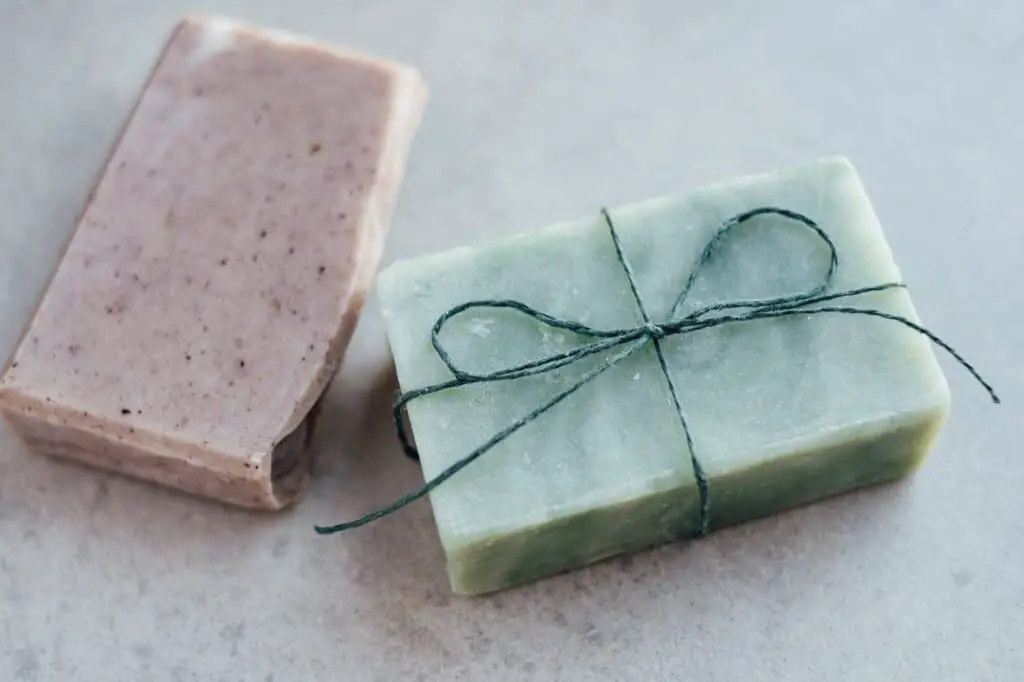
If you have tried making homemade soaps using a cold process, you will notice that the hot processed soap bars aren’t as aesthetically pleasing as cold processed soap bars. Your hot processed homemade soap bars will have a natural rustic look to them. Scrape off any rough edges with a knife, and you’re good to go with your natural hot processed bars.
Temperatures in hot process soap making
Have you wondered why temperature readings are taken at every other stage in both the hot and cold process of soap making? Temperature monitoring is essential while making soap from scratch. Mixing your lye solution and oils/fats at high temperatures leads to an undesirable soap volcano that can be a mess to clean and a waste of resources.
A soap volcano typically happens in both cold and hot process soap making when excessive heat is in the mixture. In the hot process soap recipe, volcanoes occur a short while after mixing very hot lye solution and oils at temperatures above the normal ranges of 80-90 degrees Celsius. If you notice a volcano forming while cooking your hot process soap, stop using the stick blender immediately and try to use a spatula to mix and cool down the mixture. Also, have cold water by your side when cooking; stop adding when an accidental volcano erupts.
You can save the soap batter that has gotten to the volcano by continuously stirring using a spatula and adding cold water. This will help cool the batter down and avoid the mess caused by spillage. Coconut oil tends to get hot at very high temperatures; thus, carefully measuring the temperature when using coconut oil will also allow you to prevent volcanoes.
Water content in hot process soap making
A hot processed soap typically requires more water than the cold process or rebatching processed soaps. Since hot process soaps are cooked over low heat in a crockpot, the chances of water evaporating from the mixture are fairly higher than from the cold processed soap molds. You will often find soap makers or beginners suggesting water discount ( water reduction) in the soap’s recipe to produce a hardened soap, but that shouldn’t be the case with hot processed soaps. The hot processed soaps require at least water in a ratio 3: lye solution. A good water amount in hot processed soaps ensures a fine finished texture of the soap and proper processing.
Curing time for hot processed soaps
Although the hot processed soaps are ready to use as soon as they are out of the mold, it is still recommended to cure them for up to 2-4 weeks for a better experience. Cure time allows the hot processed soaps to harden further and the moisture to completely evaporate from the soap. As the soap is cured, its usage becomes better as it will be hardened and last longer. If you are planning to sell your organic soap bars commercially, make sure to pre-make the soap batches so you can give enough cure time to the soaps.
Give your hot process soap a natural marble effect
Giving a hot processed soap marble effect is trickier than playing with melted premade soap bars. For instance, first, you will be dividing the melted soap from the melt and pour method into different containers. Next, you need to add the fragrance oil/solution into the containers.
The marble effect in a homemade soap comes from the mica coloring. So for a swirling marble effect, you need to add different mica coloring to each container. Suppose the mica coloring doesn’t have the desired effect in the mixture; spray rubbing alcohol and then see the color diffuse. Then in your set mold, pour the soap into the mold with lots of spirit alcohol and some space left for the rest of the soaps to drizzle in.
Hot processed soaps give a hard time while swirling and color mixing because the saponification has been completed already.
Hot processed soaps may be a little difficult to swirl and play around with, but they are pretty easy to scent using various fragrance oils.
Marbling a soap is far easier with melt and pour soap base. You can use a pre-melted soap batter and enjoy swirling around using different mica colors added to the soap batter divisions.
What is the gel phase, and how to control it in soap making?
The gel phase in the cold and hot process soap recipe occurs when the center part of a soap bar turns translucent and clear at a high temperature. However, gelling can ruin a good soap and cause a volcano effect when in insulation ( in a mold). It is sometimes desirable for soap makers. Gelling makes the soap last longer and more flexible, so soap makers can use a pliable soap to make a rimmed soap bar. On the other hand, gelling can be undesirable, and there are a few ways to avoid it. If you notice your soap batch gelling, do not stir, or it will create a messy, lumpy mass that will go to waste. Allow the gelling soap to saponify on its own, saving the soap.
Tips to avoid gelling in the first place:
- Using a small-sized mold: Usually, gelling occurs when using a larger mold. More heat is retained in a larger mold, thus increasing the chances of gelling.
- Mix your lye solution and oils at a lower temperature. High temperature and overheating make the mixture prone to gelling.
- Cooling your cold processed soap batch in the fridge when in molds will help you avoid gelling.
Conclusion
Hot process soaps may seem a lot of work at first when compared with cold process soap, but the quicker and finer results they give are worth your time. You now have a complete hot process soap recipe and all the tools required to jump-start your Hp soap-making journey. For further information on soaps and soap-making processes, keep following our blog, and feel free to leave your suggestions/questions in the comments below.